On startup and launch of your Kali Linux 2022.3 version, you attempt to log in to your root account only to remember that you never created one. You are only able to log in to the non root account you created during setup .You do a google search, armed with the answer, you proceed to login, but to your surprise when you try to enter root as the username and toor as the password you get the wrong email or password response. What could be the cause of this and how can this be fixed?
This blog will take you step by step on how to enable root user on the Kali Linux 2022.3 version.
Introduction
On newer versions of Kali Linux, the root account creation on installation is now disabled, this guide will take you through the process of enabling root access on your Kali, from the GUI.
Why Kali Linux root login is disabled
The newer versions of Kali Linux have the root login disabled, so now when you install your Kali Linux, you are only prompted to create a non-root user account.
Before now, Kali followed a root user policy, on login you had access to everything on a root level. The root user is the administrative user with the highest privileges, that has access to the whole system.
But this root user access is much more vulnerable and if compromised can cause the most damage. Now to reduce security issues and possible mistakes that can occur if you're on root level, the root login was disabled. If you want to have root access on your Kali Linux, you will have to enable that manually from your non-root account.
Steps to enable Kali Linux root login
Use the apt package manager to install the kali-root-login package.
First, ensure you are on your Linux terminal in the GUI
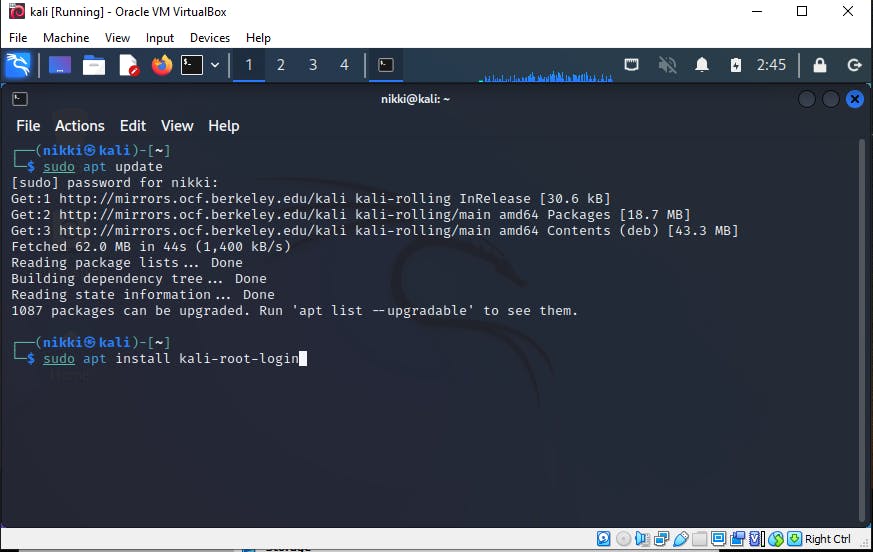
Next, enter the commands below into your terminal to install the Kali root login package. You will be asked to input your non-root account password.
$ sudo apt update
$ sudo apt install kali-root-login
Set root password
After the Kali root login package has been successfully installed, you can now set the root password.
Enter the command below
$ sudo passwd
- After entering the command, You will be prompted to enter your new password twice
You have successfully enabled Kali root login, and now with your root account credentials you can now login to your account.
Log in to the root account
You can now choose to logout and login again, this time with the root account. The default username is root and the password is the one you just created. You can use the whoami command on the terminal to see the account currently signed in the system.
Conclusion
It is advised that you don’t use your root account for everyday activities because then you will make your system more vulnerable. You can still execute commands as root, while using your normal user account, by prefacing commands with sudo
I hope you found this article helpful. Cheers!
If you would like a step by step guide on How to install Kali Linux in the Oracle VirtualBox Virtual Machine, do check it out here


